Running a Discord bot written in Deno in Docker
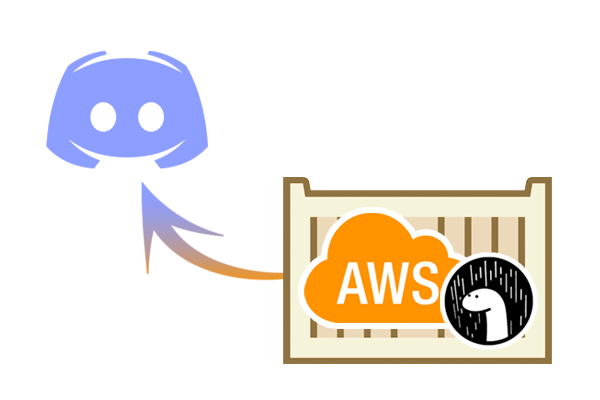
In the previous article, I explained how to create a simple Discord bot with Deno and run it locally. In a real-world scenario, we would like to keep our bot online 24/7, and a home computer is not the best choice for this purpose. Read on to find out how to run out bot in a Docker container in the AWS cloud.
It’s been only a week since the previous article, and it seems a lot has changed. Deno v1.0.1, v1.0.2, and v.10.3 have been released. Discordeno has undergone 4 major releases with current version 5. Denon also had a major release with a complete restructure of configuration. The development is moving forward with crazy speeds and the whole Deno technology feels very promising. We just need to wait a little bit until it settles down.
Now let’s get to the point.
Creating a Docker file
There are a few unofficial Deno docker images available in the wild. For this tutorial, I chose this docker-deno image as it is the most actively maintained one. Therefore, we will be using the latest Deno 1.0.3 in this article.
Before we start creating a Docker image, let’s figure out how we are going to store the sensitive data. In context of a Discord bot, there is the bot token that we’d like to keep in secret. Even though there’s no completely safe place to store an unencrypted sensitive information, hardcoding it is likely not the best idea. However, the main reason why we will be passing bot ID and token like this is the image reusability. With this mechanism, our bot can be run by different people on different servers – they will just need to use their own bot credentials.
Let’s refactor our config.ts file so that it takes all the required configuration from the environment variables:
export const configs = {
  prefix: Deno.env.get('DISCORDENO_PREFIX') || "!",
  token: Deno.env.get('DISCORDENO_TOKEN') || "",
  botID: Deno.env.get('DISCORDENO_BOTID') || "",
}
Note that you need to run Deno with --allow-env flag, because accessing the environment variables is a separate Deno permission.
Next, create Dockerfile in the root of the project with the following content:
FROM hayd/alpine-deno:1.0.3

WORKDIR /app

# Prefer not to run as root.
USER deno

# These steps will be re-run upon each file change in your working directory:
ADD . .
# Compile the main app so that it doesn't need to be compiled each startup/entry.
RUN deno cache mod.ts

CMD ["run", "--allow-read", "--allow-net", "--allow-env", "--unstable", "mod.ts"]
In this Docker file, we take hayd/alpine-deno:1.0.3 as the base image, which means we don’t need to install Deno manually as it’s been done for us by the image creators. Next, we change our current user to “deno”, as operating from the root user is not recommended due security concerns. Then we add our bot’s source code to the image, download the external dependencies with deno cache (Discorddeno), and specify the command that will be performed on container start. In our case, it’s deno run with all necessary arguments.
Testing the Image Locally
Now we can check if everything builds and starts correctly on the local machine. First, we need to build the docker image with our bot:
docker build -t denobot .If the final output looks like Successfully built 7bb7f2b67ec0, then everything went great and you’ve built your Docker image. Otherwise you might want to look up the error output.
Start your bot with the following command:
docker run -e DISCORDENO_TOKEN="<YOUR_DISCORD_BOT_TOKEN" -e DISCORDENO_BOTID="<YOUR_DISCORD_BOT_ID>" denobot
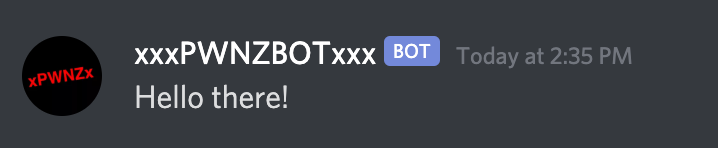
After a few seconds of compilation, your bot should be online and you should see [READY] Bot is online and ready! in your console.
Have you noticed how we passed the bot ID and token into the Docker container? We can add an unlimited number of environment variables using the -e arguments, and Deno will be able to read them with synchronous Deno.env.get calls.
Publishing the Image on Docker Hub
Before being able to pull a Docker image from your Amazon EC2 instance, you need to push it to a Docker container registry. You can use Docker Hub, Amazon ECR or even spin up your own registry elsewhere. As a free Docker Hub user, you can have one private repository and unlimited number of public ones. Let’s use a simple public repository for this tutorial as it is the fastest way to get up and running, but keep in mind that if you do not want your bot’s source code to be publicly available, you will need to keep it private.
In the examples below, I will be using a sample docker username, denobotify. Don’t forget to replace it with your own if you decide to follow along.
First, you need to login to Docker Hub with the following command:
docker login By default, you’ll be prompted to log in to Docker Hub. Enter your username, password and you are ready to go.
To be able to push your image to Docker hub, you have to rebuild it and prefix the name with your Docker Hub ID:
docker build -t denobotify/denobot .
Now you can push it and make publicly available:
docker push denobotify/denobot:latestOnce the upload is finished, the new image should be available in your Docker Hub dashboard as well as via link like https://hub.docker.com/r/denobotify/denobot
Now you are able to pull that image from any external machine by running docker pull denobotify/denobot:latest.
Running the bot in AWS cloud
There are many ways to run a Docker container in AWS. For the simplicity sake, we won’t be touching ECS (Elastic Container Service), but will create a simple EC2 instance with Docker pre-installed. To follow along, you need to have a valid AWS account.
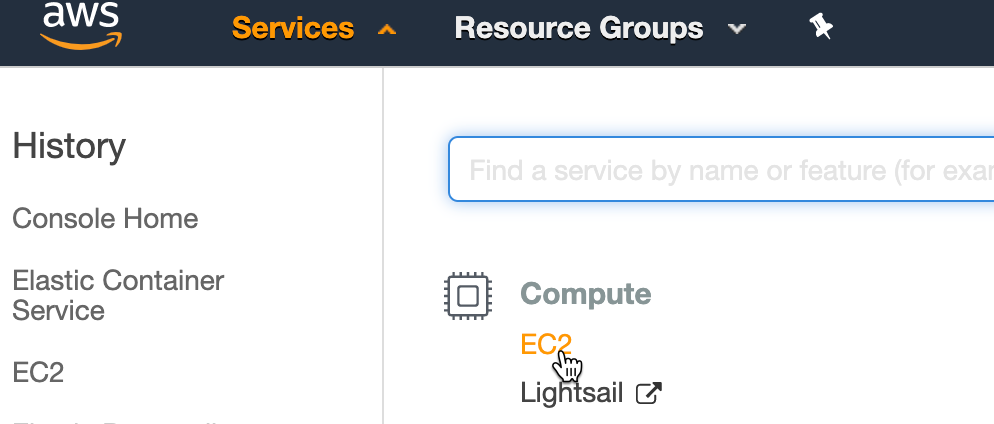
In order to launch an EC2 instance, follow the next steps:
1. Go to Services > EC2 and click on the “Launch instance” button
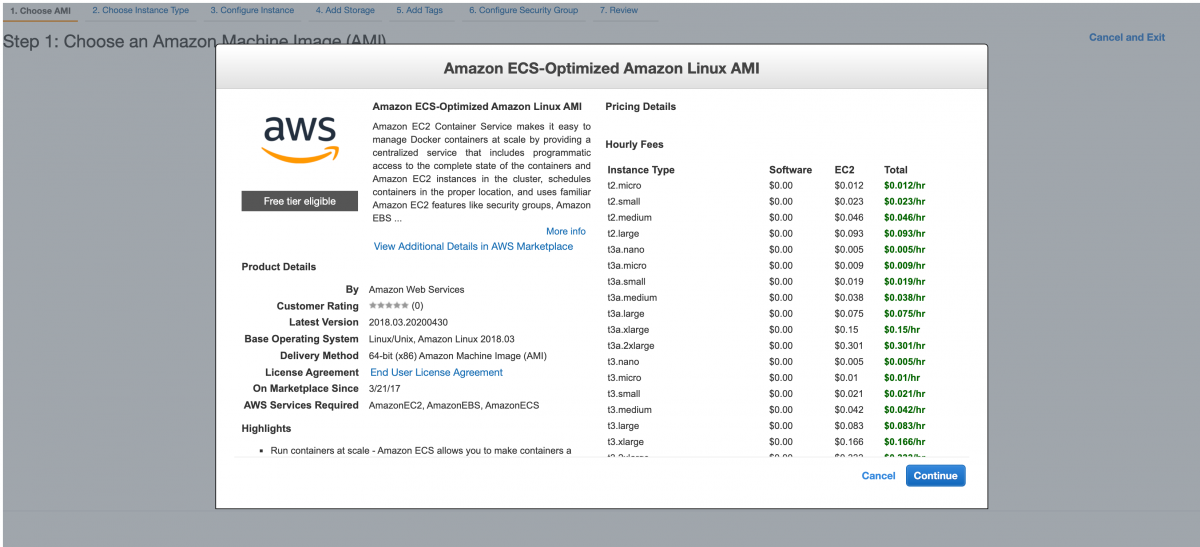
2. On the AMI selection page, click on the "AWS Marketplace" tab and enter “Docker” in the search bar. Select “Amazon ECS-Optimized Amazon Linux 2 AMI”, which comes with Docker pre-installed and is free-tier eligible. If you have a new account, running this EC2 instance will be absolutely free
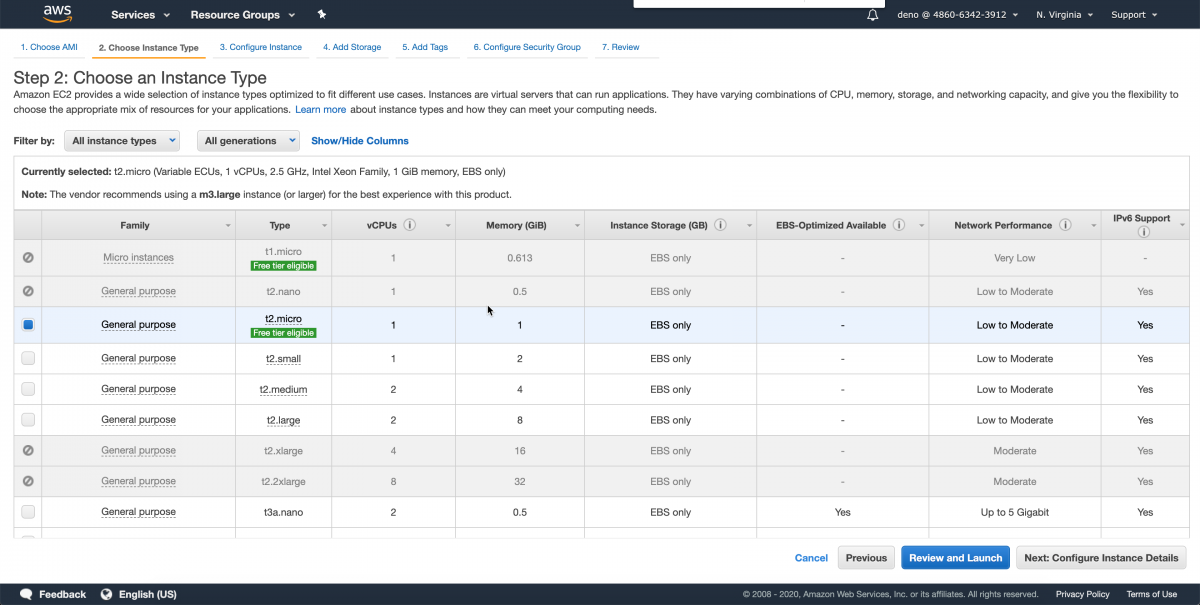
3. Select t2.micro instance type which is also free-tier eligible
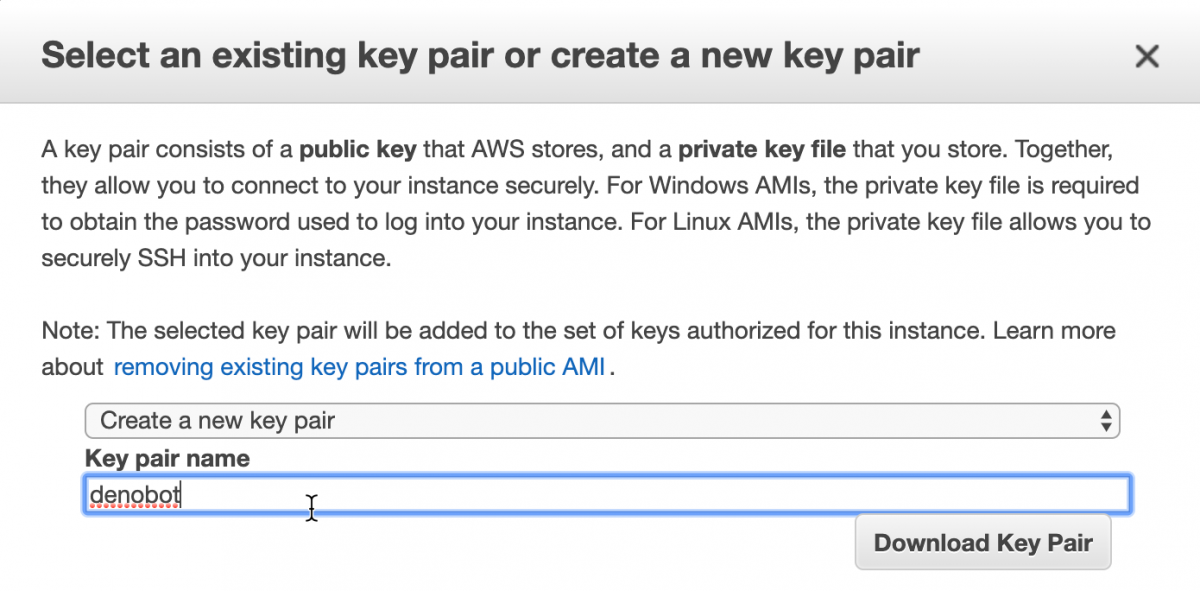
4. Click “Launch” and on the appeared popup, select “Create a new key pair” (if you don’t have one already), enter “denobot” as a key name, and download the keypair. The instance will start launching.
Next, connect to your instance via SSH using your new denobot.pem key:
ssh -i ~/Downloads/denobot.pem ec2-user@<YOUR_INSTANCE_IP_ADDRESS>
Your instance IP address can be found at Services > EC2 > Instances page. If you receive any complaints about private key file being available for other users, enter chmod 700 ~/Downloads/denobot.pem. Don’t forget to change the path to the key to your actual path in the both commands.
Once connected, type the following command:
docker run -d --restart=always -e DISCORDENO_TOKEN="<YOUR_DISCORD_BOT_TOKEN" -e DISCORDENO_BOTID="<YOUR_DISCORD_BOT_ID> denobotify/denobot:latest
Thereby, we start a docker container in detached mode (it will keep running on background when we close the terminal) and tell the docker to restart in case of application’s crash. After less than a minute you should see your bot online indicating that everything went successfully. Try out the chat commands that you implemented to make sure it works as expected.
So that’s it! Now we have our Discord bot up and running in the cloud, which will be online and responding to commands 24/7, until you stop it or terminate the instance. Hope you liked this tutorial and now have a basic knowledge on how you can run a Deno application in Docker. As usual, thanks for reading, and see you next time.