Advanced Surveys on a Drupal website with Lime Survey

Today we are going to be talking about creating advanced surveys. When it comes to surveys on a Drupal website, most of people would think about using the Webform module. Webform is quite common, easy to use, has many contributed modules to extend its functionality, and may be a great solution for common survey tasks. However, if you are looking for a more advanced solution that includes more sophisticated survey elements, validation rules, result exports and graphics, Webform’s functionality may not be enough. There are a few paid survey services online, some of which represent very easy and flexible solutions, but in this article, we are going to look at a free and open source survey application called LimeSurvey.
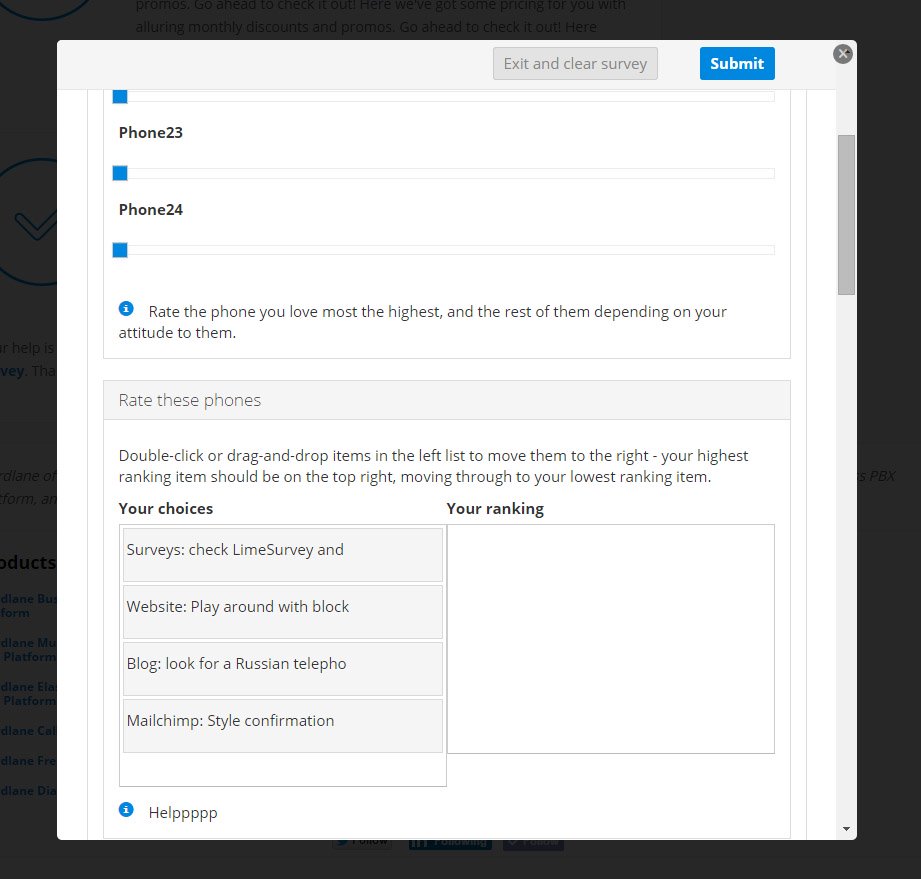
So, LimeSurvey is an open-source survey tool written in PHP, just like Drupal. With it, you can create a survey with a large amount of fields, types of which vary form typical text fields and checkboxes to arrays and ranking fields with a JavaScript drag-and-drop interface. LimeSurvey provides an easy-to-use admin interface, via which you can manage surveys, users, import and export data, change numerous global settings, view surveys results in a convenient way, and so on.
There is also a Drupal integration module, called LimeSurvey Sync, which allows using much of this stuff within your Drupal Website. It connects to LimeSurvey’s database (it may be the same as Drupal’s database, but using a specific prefix – more on this later) and synchronizes the data. In the first version of the module, the answers are stored as nodes; the second one uses custom entities, fields of which may be displayed in views or used programmatically as any Drupal entities. The module requires some time for full understanding, and if you don’t need to link websites users with survey answers, you’d better skip its long description.
In this article, we will be working with LimeSurvey Sync 7.x-1.7, which is a stable and recommended release at the moment of writing.
Installing LimeSurvey

There is nothing difficult about installing LimeSurvey. It requires a server with PHP and MySQL or any other database, supported by Drupal. On the LimeSurvey download page, get the latest version, copy it to the folder, that is associated with a certain domain in your webserver settings, and run the installer from the browser – exactly like you do, when you are to install Drupal.
One of the good ways of installing LimeSurvey is installing it to the same database as Drupal – especially useful if your web-hosting account has limits of one database per user. The same folder can also be used, so LimeSurvey pages will be available say at www.sandbox.dev/lm-survey. You should specify a prefix, which is ‘lime_’ by default. In this case, it will be easier to configure the LimeSurvey Sync module – the only thing you’ll have to specify is the prefix that LimeSurvey tables use. It is possible to connect to another database on localhost though, and it will be working well, in case if you do not want to pollute a Drupal database with third-party data. Just remember that using an external database, connection to which is available from the Internet, is not a good idea and rather a security risk.
The installing program may ask you to create some directories or give some directories writing permissions – just do as it asks, and you will be done in a couple of minutes.
Configuring the Module
I guess you have installed LimeSurvey and LimeSurvey Sync properly, and now it’s time to go through the configuration process. First, you need to let Drupal know, how to access LimeSurvey’s database and what LimeSurvey’s web address is. Go to http://www.sandbox.dev/admin/config/media/ls_sync and pay attention on the following part
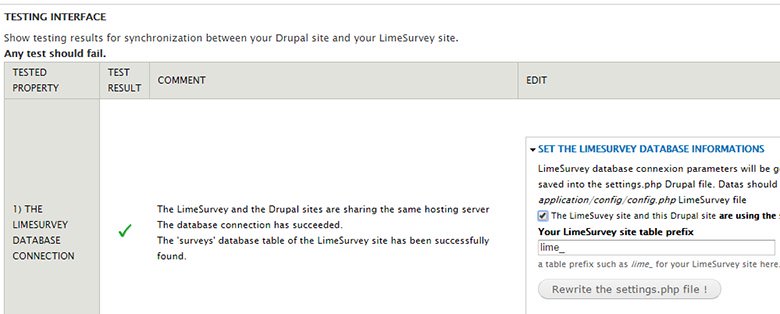
If you have chosen the easiest way and installed LimeSurvey in the Drupal’s database, just specify the prefix (if different) and push “Rewrite the settings.php file !”. This will add to your settings.php the following snippet, which adds a secondary database to Drupal settings:
////////////////////////////////////////////////////////////////////////
//<LIMESURVEY_SYNC-START>
// The lines below have been generated by the LimeSurvey_sync module,
// On the 2015/04/14, by YourUser
$databases['ls']['default'] = array (
  'driver' => 'mysql',
  'database' => 'sandbox',
  'username' => 'sandbox',
  'password' => 'sandbox',
  'host' => 'localhost',
  'prefix' => 'lime_',
  'collation' => 'utf8_general_ci',
);
//<LIMESURVEY_SYNC-END>
////////////////////////////////////////////////////////////////////////
The update of settings.php may not work from the first attempt – the file is typically protected from writing. You can change the permissions, make the patch, and remove the writing permissions again, because if you don’t, Drupal will be repeatedly telling you that it is not secure.
Next, you have to specify LimeSurvey installation web path – in my case, it is http://www.sandbox.dev/limesurvey, but it must be a good idea to have LimeSurvey installed on a separate subdomain. You can check it instantly by clicking on the test link on the left – if it leads to the LimeSurvey login page, it works great. This path will be used by LimeSurvey sync module to embed surveys in pages or to generate external links, when you need to go to the LimeSurvey itself – for instance, changing some survey configuration settings.

Finally, you have to synchronize time zones on your Drupal website with your LimeSurvey application. This section provides the links where you can change it.
In Drupal settings, select your time zone if you haven’t already;

In LimeSurvey pick the time difference so it matches to your local time (it displays current server time and changed time, so picking the right number will not be challenging):
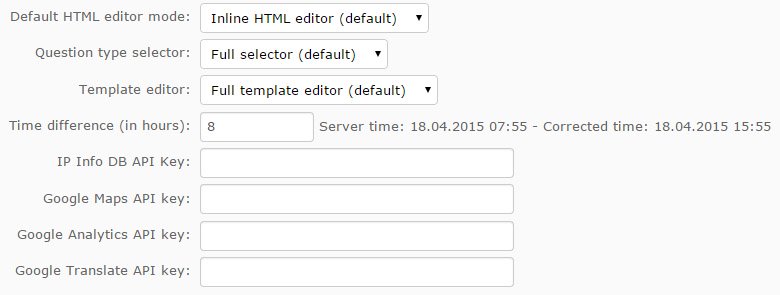
Click the “Save” button. If you can see green checks in all of the three rows, the initial setup is complete.
Publishing surveys on a Drupal website
Unfortunately, you cannot create surveys right from your website so far. This action should be performed within LimeSurvey. The interface might seem confusing at first look, but be sure – you’ll get used to it quickly.
Follow the next steps:
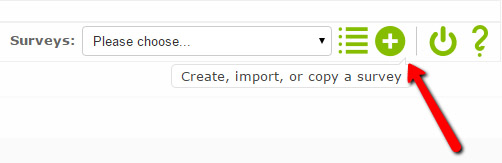
- Create a new survey
- Create a new question group
- Create questions and set them up
All of these actions start with pushing the green plus button at the right top corner, as shown in the picture. When everything is set, push “Play” button on the top left corner to activate the survey. You can always press the “Gear” button for seeing a preview.

Let’s go back to Drupal. There are three modules in the bundle – enable them all for this example. To add the created survey on our website, create a new node of type “Survey”, which has been added to the list of content types.
Enter the survey title, select one of surveys that are available on your LimeSurvey installation, and enter the machine name for the new content type that will be associated with this survey. Yes, another content type will be created, and if you are going to have many surveys, your content type list will be quite long.
In the newly created node, you will see your survey summary with some advanced options and links to LimeSurvey installation. The survey node has three interesting tabs: responses, options and synchronization. The responses tab displays (surprise!) the responses. If you don’t see any responses there, but you certainly have them, go to synchronization tab and push the button. There is a lot of stuff on the options tab, but the most important option is how we are going to display a survey on the page. To me, the most useful is iframe. I tried to use Сolorbox, but for some reason it didn’t work.
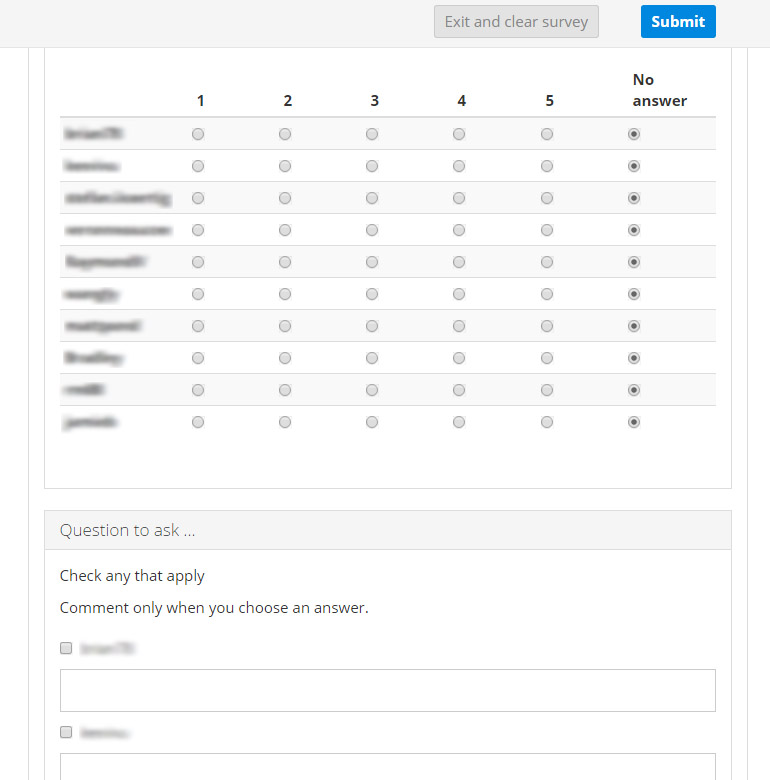
The link to the actual survey page is shown below – To response to the survey, and its URL is like http://www.sandbox.dev/node/add/%yoursurvey. It will lead you to an empty page with a single button, which brings you to the actual survey. You may be redirected to the LimeSurvey page or view a survey in an iframe – it depends on the settings of the survey that can be found on the content type edit page. There is also a setting of displaying surveys in Colorbox popup window, but for some reason I have not managed to get it working. Once a survey is completed, a new node of this content type will be created, and it will store the answer results and associate them with the author. And that’s a good part – if you want to know what a certain website user vote for, you don’t need them to register on LimeSurvey.
Theming Surveys
If you would like to embed surveys into your website, you probably want them look like your website. To me, all of the themes provided with LimeSurvey out of the box seem sort of outdated. There are some free themes available online, including this LimeSurvey Bootstrap Theme that I used for my project. If you don’t like default Twitter Bootstrap styles, you can replace them with Bootswatch, override colors or any other styles. You can also edit HTML templates – browse through numerous pstpl files and find those containing your piece of code. As .pstpl is not a common file type for templating, you will probably have to configure your IDE to get proper tag highlighting.
To install a survey theme, simply place the folder to /upload/templates, and it will be instantly available within your admin interface.
Views and Rules
As surveys and responses are nodes, all their fields are available to views. You can manually create a view, filter it by certain survey (content type) and set up the fields you want to display. The module provides a few events, conditions and actions for Rules, dealing with response nodes or Drupal entities.
LimeSurvey Sync 7.x-2.0-alpha1
I guess the basic idea of the second version is to stop creating these excess content types, move Surveys and Responses to custom entities, and then possibly reference them from nodes, using en Entity Reference field. This branch has dependencies on Entity API (entity) and Entity Reference Field (entityreference), and the module’s settings pages moved from Administration » Configuration » Media to the Structure category.
For me, it was really hard to get this module to work, as initially I installed LimeSurvey in /limesurvey folder, which is used as an internal path for this module. When I changed the install path, it finally worked (Colorbox didn’t, though). Overall, I think this design pattern is much better, and it should replace the first branch, that uses content types, in near future.
Displaying a survey in Colorbox
As I couldn’t put surveys in Colorbox with the described module, I decided to do it manually. This task is actually achievable without installing LimeSurvey Sync, and for me the result provides much better user experience. We are going to use a simple text or image link to move to our survey, clicking on which would trigger Colorbox, loading the survey in an iframe. First, you need to install the Colorbox module, indeed, and enable Colorbox load.
Once done, place a link to your survey with the “colorbox-load” class into any Drupal block or node, add ?width=500&height=500&iframe=true at the end of the “href” attribute, and enjoy your survey opening in a Colorbox.
Unfortunately, all the answers will anonymous, but if it works with you, it might be a quick and elegant solution.
Conclusion
In my humble opinion, LimeSurvey Sync may be useful only in case, when you need to keep track on website users and their survey answers. The module is pretty complicated, so if you don’t care about website users, it is much easier to display a survey in an iframe using an iframe field, embedding it into any HTML field (like Body) or displaying it in a popup Colobox window.